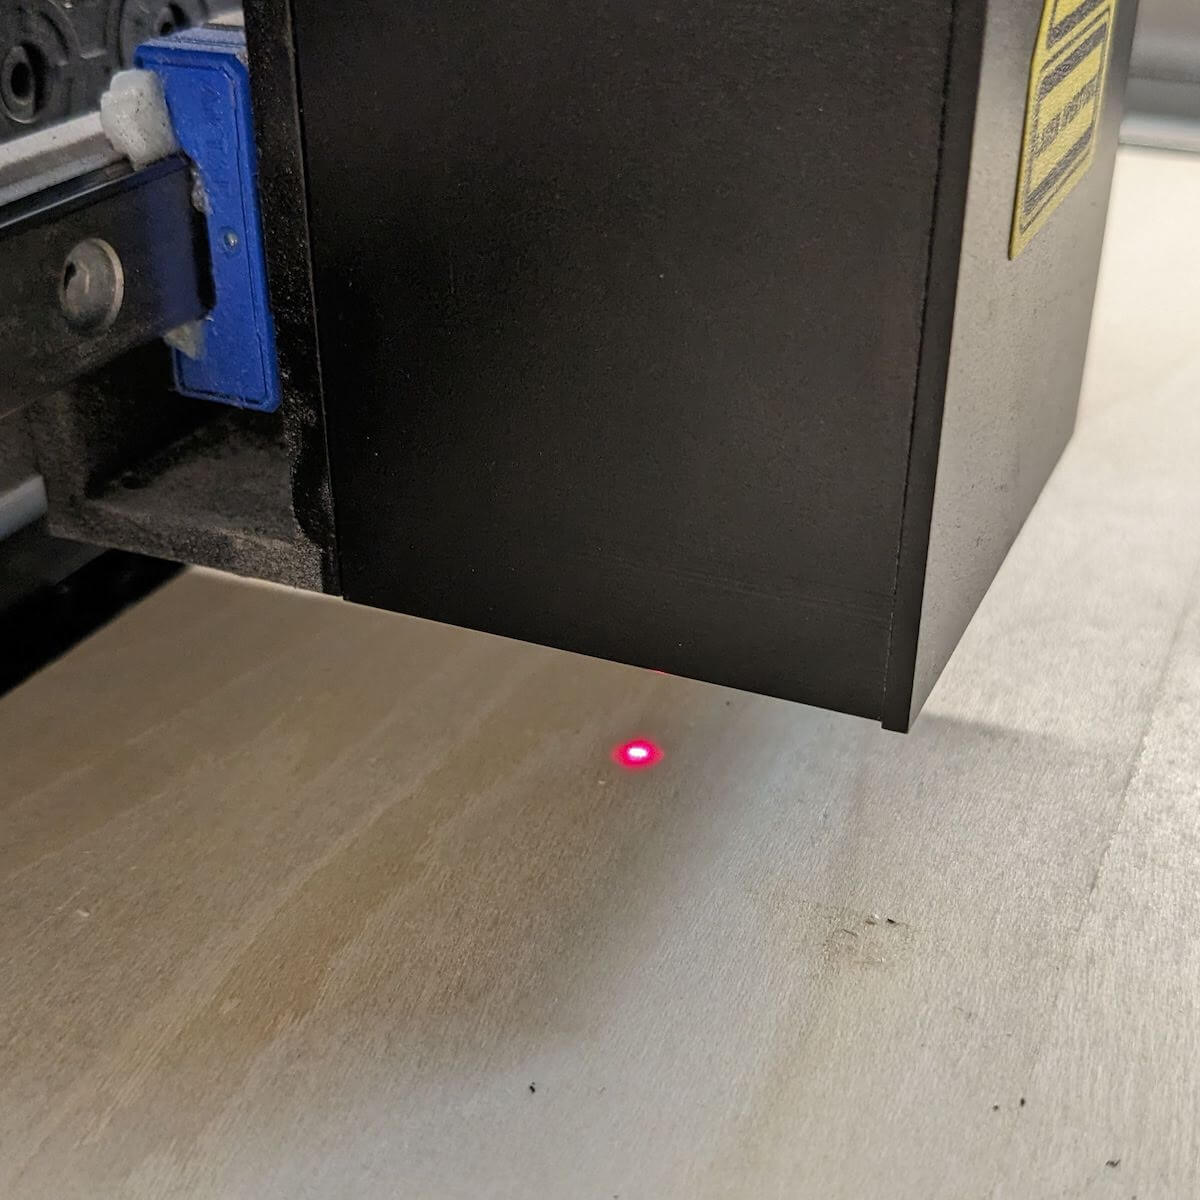
Red Dot for the Omtech Polar Laser Cutter

Red dot on the Omtech Polar


Buy Now [$139]


The only set-and-forget red dot

No batteries. Always ready. No extra steps. Ultra precise.


Why you need a red dot laser on your Omtech Polar

Know exactly where your laser will cut or engrave! Save material! Prevent mistakes! Avoid headaches!

  • Precisely set the origin where your job will start
  • "Frame" to see exactly where a job will sit on your material
  • "Print and cut" feature to re-cut material
  • Easier pass-through operations
  • Easier to line up repeated batch jobs

This works great alongside the Ruida control panel (learn more in this video), which gives you more capabilities (hardware buttons, extra diagnostics, easier repeat jobs, and more), and installs with only a single quick extra step while installing the red dot.

Learn More

[video coming soon]

Details

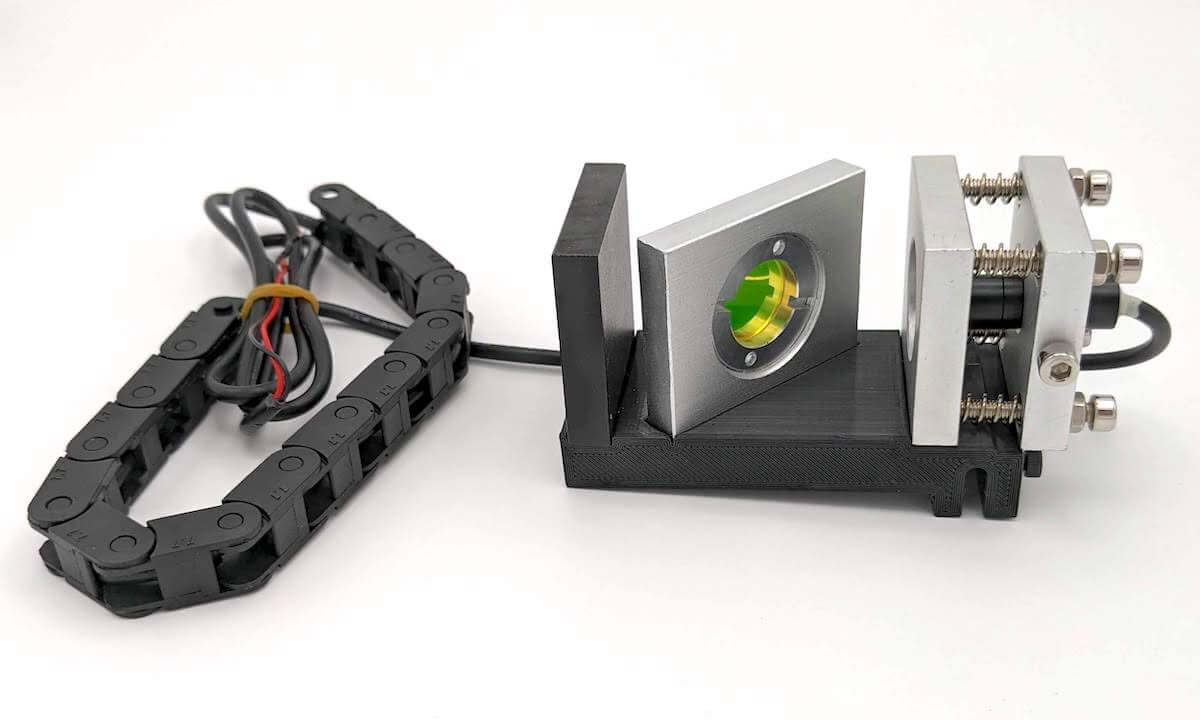
This kit lets you easily add a red dot laser pointer to your Omtech Polar laser. It features:

  • Pre-assembled beam combiner on a custom fabricated base, specially designed to fit in the Omtech Polar
  • Red beam is powered by the Polar, and automatically comes on when you turn on the machine. No switches or plugging/unplugging necessary on an ongoing basis. A customized power connector for the red laser allows it to be powered by the Polar's on-board controller
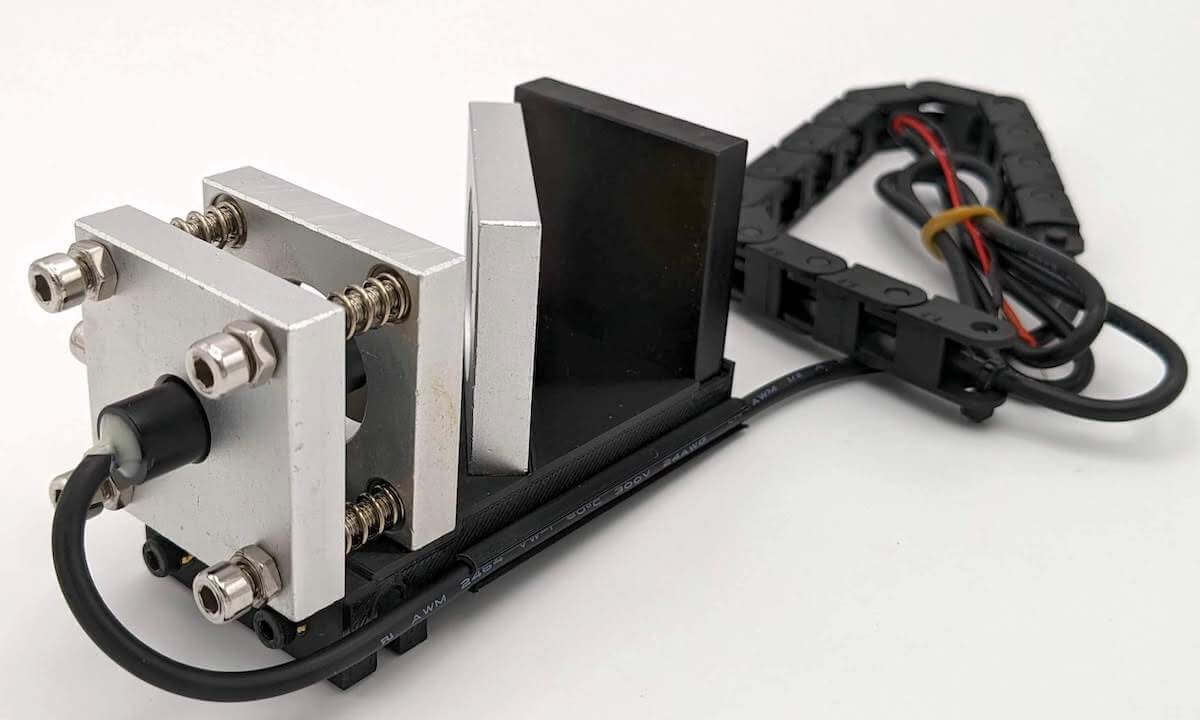
  • Cable management: Cord channel on the beam combiner, and a drag chain ensure the cord stays safely out of the beams
  • Guided installation: You need just a phillips screwdriver, a small flat head screwdriver, a 7mm wrench, and the allen keys that came with your Polar. Installation video walks you through each step.

Installation

Brief Overview

  1. Remove left cover (video)
  2. Remove metal cover plate over controller (video)
  3. Install red wire into a +5V connector, and black wire into GND (video)
  4. Secure the drag chain to the upper-left corner of the controller cover plate (video)
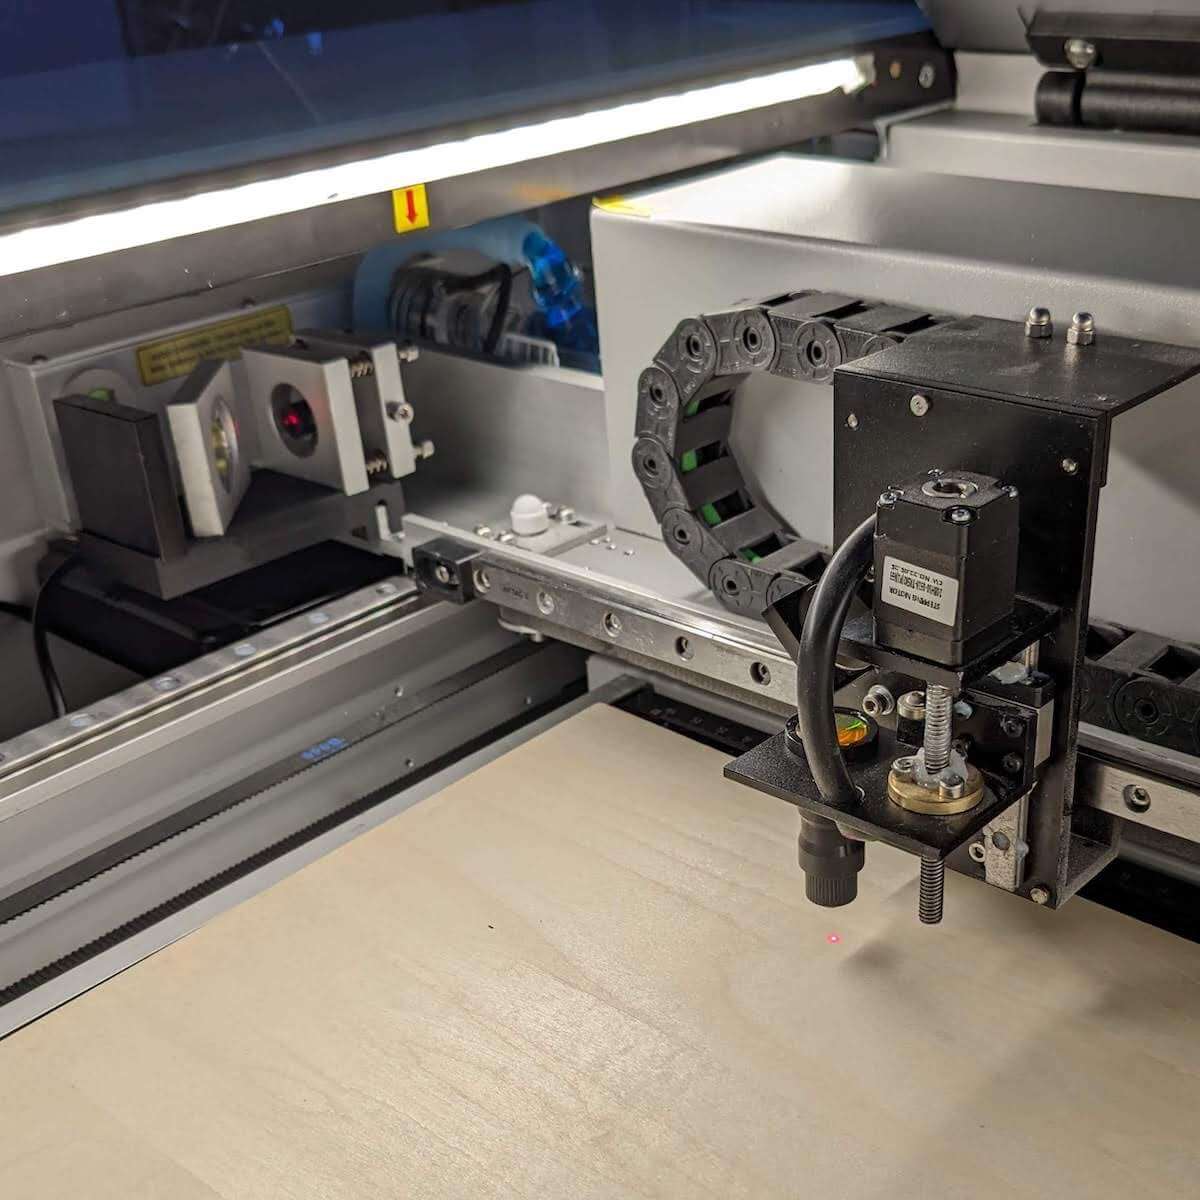
  5. Attach the red beam assembly to the rail next to the second mirror (video)
  6. (Optional): Fine-tune the beam alignment by adjusting the nuts on the red dot assembly (video)
  7. Reinstall left panel

Video: Detailed Step-by-Step

FAQ

What tools do I need to install this?

  • the allen keys that came with your Omtech Polar
  • a small flat head screwdriver
  • phillips screwdriver
  • 7mm (or adjustable) wrench

Can I use this with Gweike Cloud?

The assembly will fit perfectly in the Gweike Cloud, but you will need to determine how to power the red dot laser. Most people are able to use a free USB port on their control board using a USB adapter cable (not included). Newer units are no longer shipping with hard-wired Polar connector pins, but instead have a female, 2.1mm, center-positive barrel jack and a pigtails adapter cable. You can use any other adapter cable you'd like (search for "2.1mm male barrel jack adapter"), e.g. for USB, a wall wart, ~5V battery, etc.

How does it work?

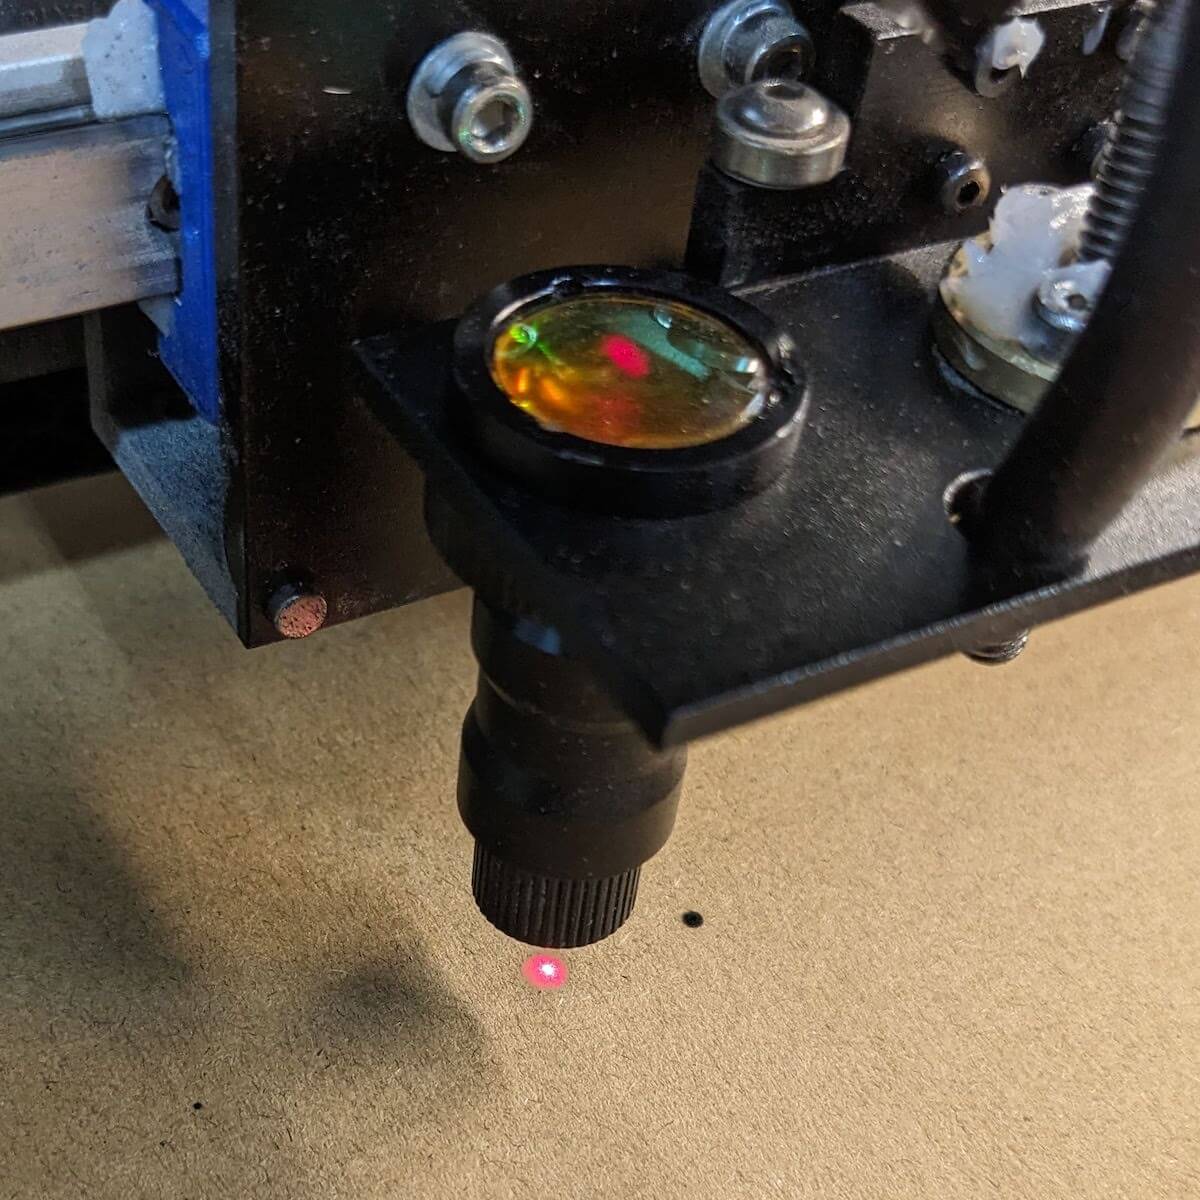
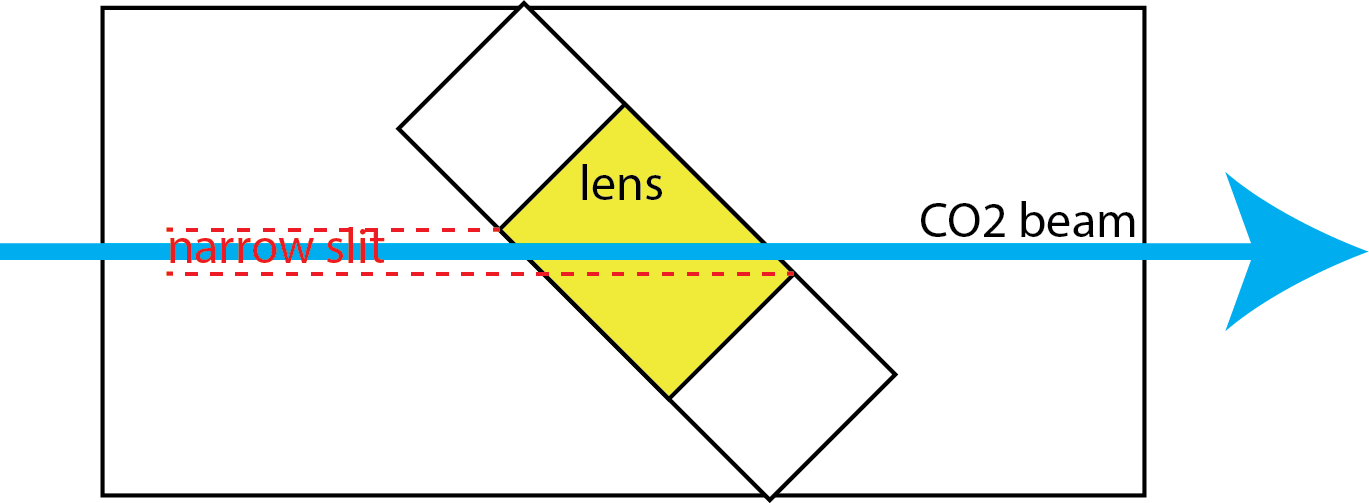
The beam combiner uses a special lens that reflects the red laser beam on one side, while allowing the CO2 laser beam to pass through, effectively combining them.

How does this compare to alternatives?

There are two other ways people have added a red dot to the Polar:

  • A battery powered cat toy laser on a card that you stick in front of the 2nd mirror.
    • Pros: Inexpensive
    • Cons: Must be inserted and removed with each and every cut (and can start a fire if you forget to remove it).
      Not permanent.
      Can't be precisely aligned.
  • Clip-on red dot laser, attached to the head of the laser
    • Pros: Possibly less expensive
    • Cons: Mis-aligns when you change focus.
      Needs frequent adjustments. Very finicky.
      May bang into walls of the machine if not careful
      Cable management is more complicated, or battery power requires you to turn it off and on, and replace batteries frequently.
      Cannot use cover over laser head
  • This product: the MAS Effects red dot beam combiner (The only beam combiner that fits the Polar)
    • Pros: Permanent fixture in your Polar
      Set-and-forget alignment. No realignment necessary
      Extremely high accuracy
      Much simpler cable routing and installation than clip-on lasers
      Does not interfere with the movement of the laser head
      Can be used with the laser head cover
    • Cons: More expensive than some alternatives

What is it made of?

The laser mount, lens aperature, and back-scatter plate are made of aluminum. The base plate is made of PETG plastic.

Why is the drag chain sideways?

The drag chain is simply meant to weigh down the cable and keep it out of the way of the laser beams. There isn't sufficient room in the machine to install the drag chain in a conventional way.

Is this covered by the regular MAS Effects warranty?

The lens is a consumable and is not covered. The red laser is covered for 1 year. The rest of the assembly is covered by our Forever Warranty.

Can I replace the lens?

Yes, if you need to replace the lens, you can use a 20mm beam combiner lens, e.g. this one from Cloudray or this one from American Photonics.

Why does it look mis-aligned with the 2nd mirror?

After you install it, you will find the lens does not center on the 2nd mirror of your laser. This is by design. The following illustration (not to scale) shows how the beam will enter near the rear and exit near the front of the beam combiner lens.

More questions?

Contact me with any other questions or feedback. Thanks!
Reviews

These are just a few. See them all in our shop

Must have Omtech Polar upgrade

I couldn't be happier with the result and, consider it a "must have" upgrade to any Polar.

I have spent a lot of time researching upgrades for my new Polar Omtech machine. Until I came across the red dot option from Mas Effects, I couldn't really find any solutions that didn't require doing going way too far into the guts of my machine to be comfortable.

This solution didn't require touching my laser tube, mirrors, etc, Basically, it...
[read more]

-- Richard

Great little laser

This little laser is a game changer! If you don't have one yet for your Omtech or Gweike, do yourself a favor and get one!

-- Patrick

Works for the Gweike Cloud

I purchased the DC/USB cable recommended and it works like a charm. No issues with installing. My GC has an additional hole in the back so I just fed the cable out feom there. SO happy with this mod!

-- Noreen

One of the best upgrades to make to the Omtech Polar CO2 laser

This is one my best upgrades to the Omtech Polar laser. It makes a world of difference when trying to line up an engrave with an item. The camera does good to get you somewhere within hand grenade range, but with the red dot you are dead on the spot. Really useful for smaller items.

-- Eric N.

Great upgrade! Just what I wanted

I jumped on this when I saw his Facebook post, and it was as simple to install as advertise. I personally have not set up the camera on my laser so getting the precision of a laser was more my speed, installation was a breeze, it took me as long as it did to install because I re watched the instructional video over and over, triple checking my work. Highly recommend

-- Victor S.

Works great!

I love this red dot pointer! It was easy to install, instructions were clear and easy to follow. Thank you!

-- Dawn R.

Excellent product

I can't say enough wonderful things about this red dot. It should be included as factory equipped. It was easy to install and has completely improved productivity

-- Charles K.